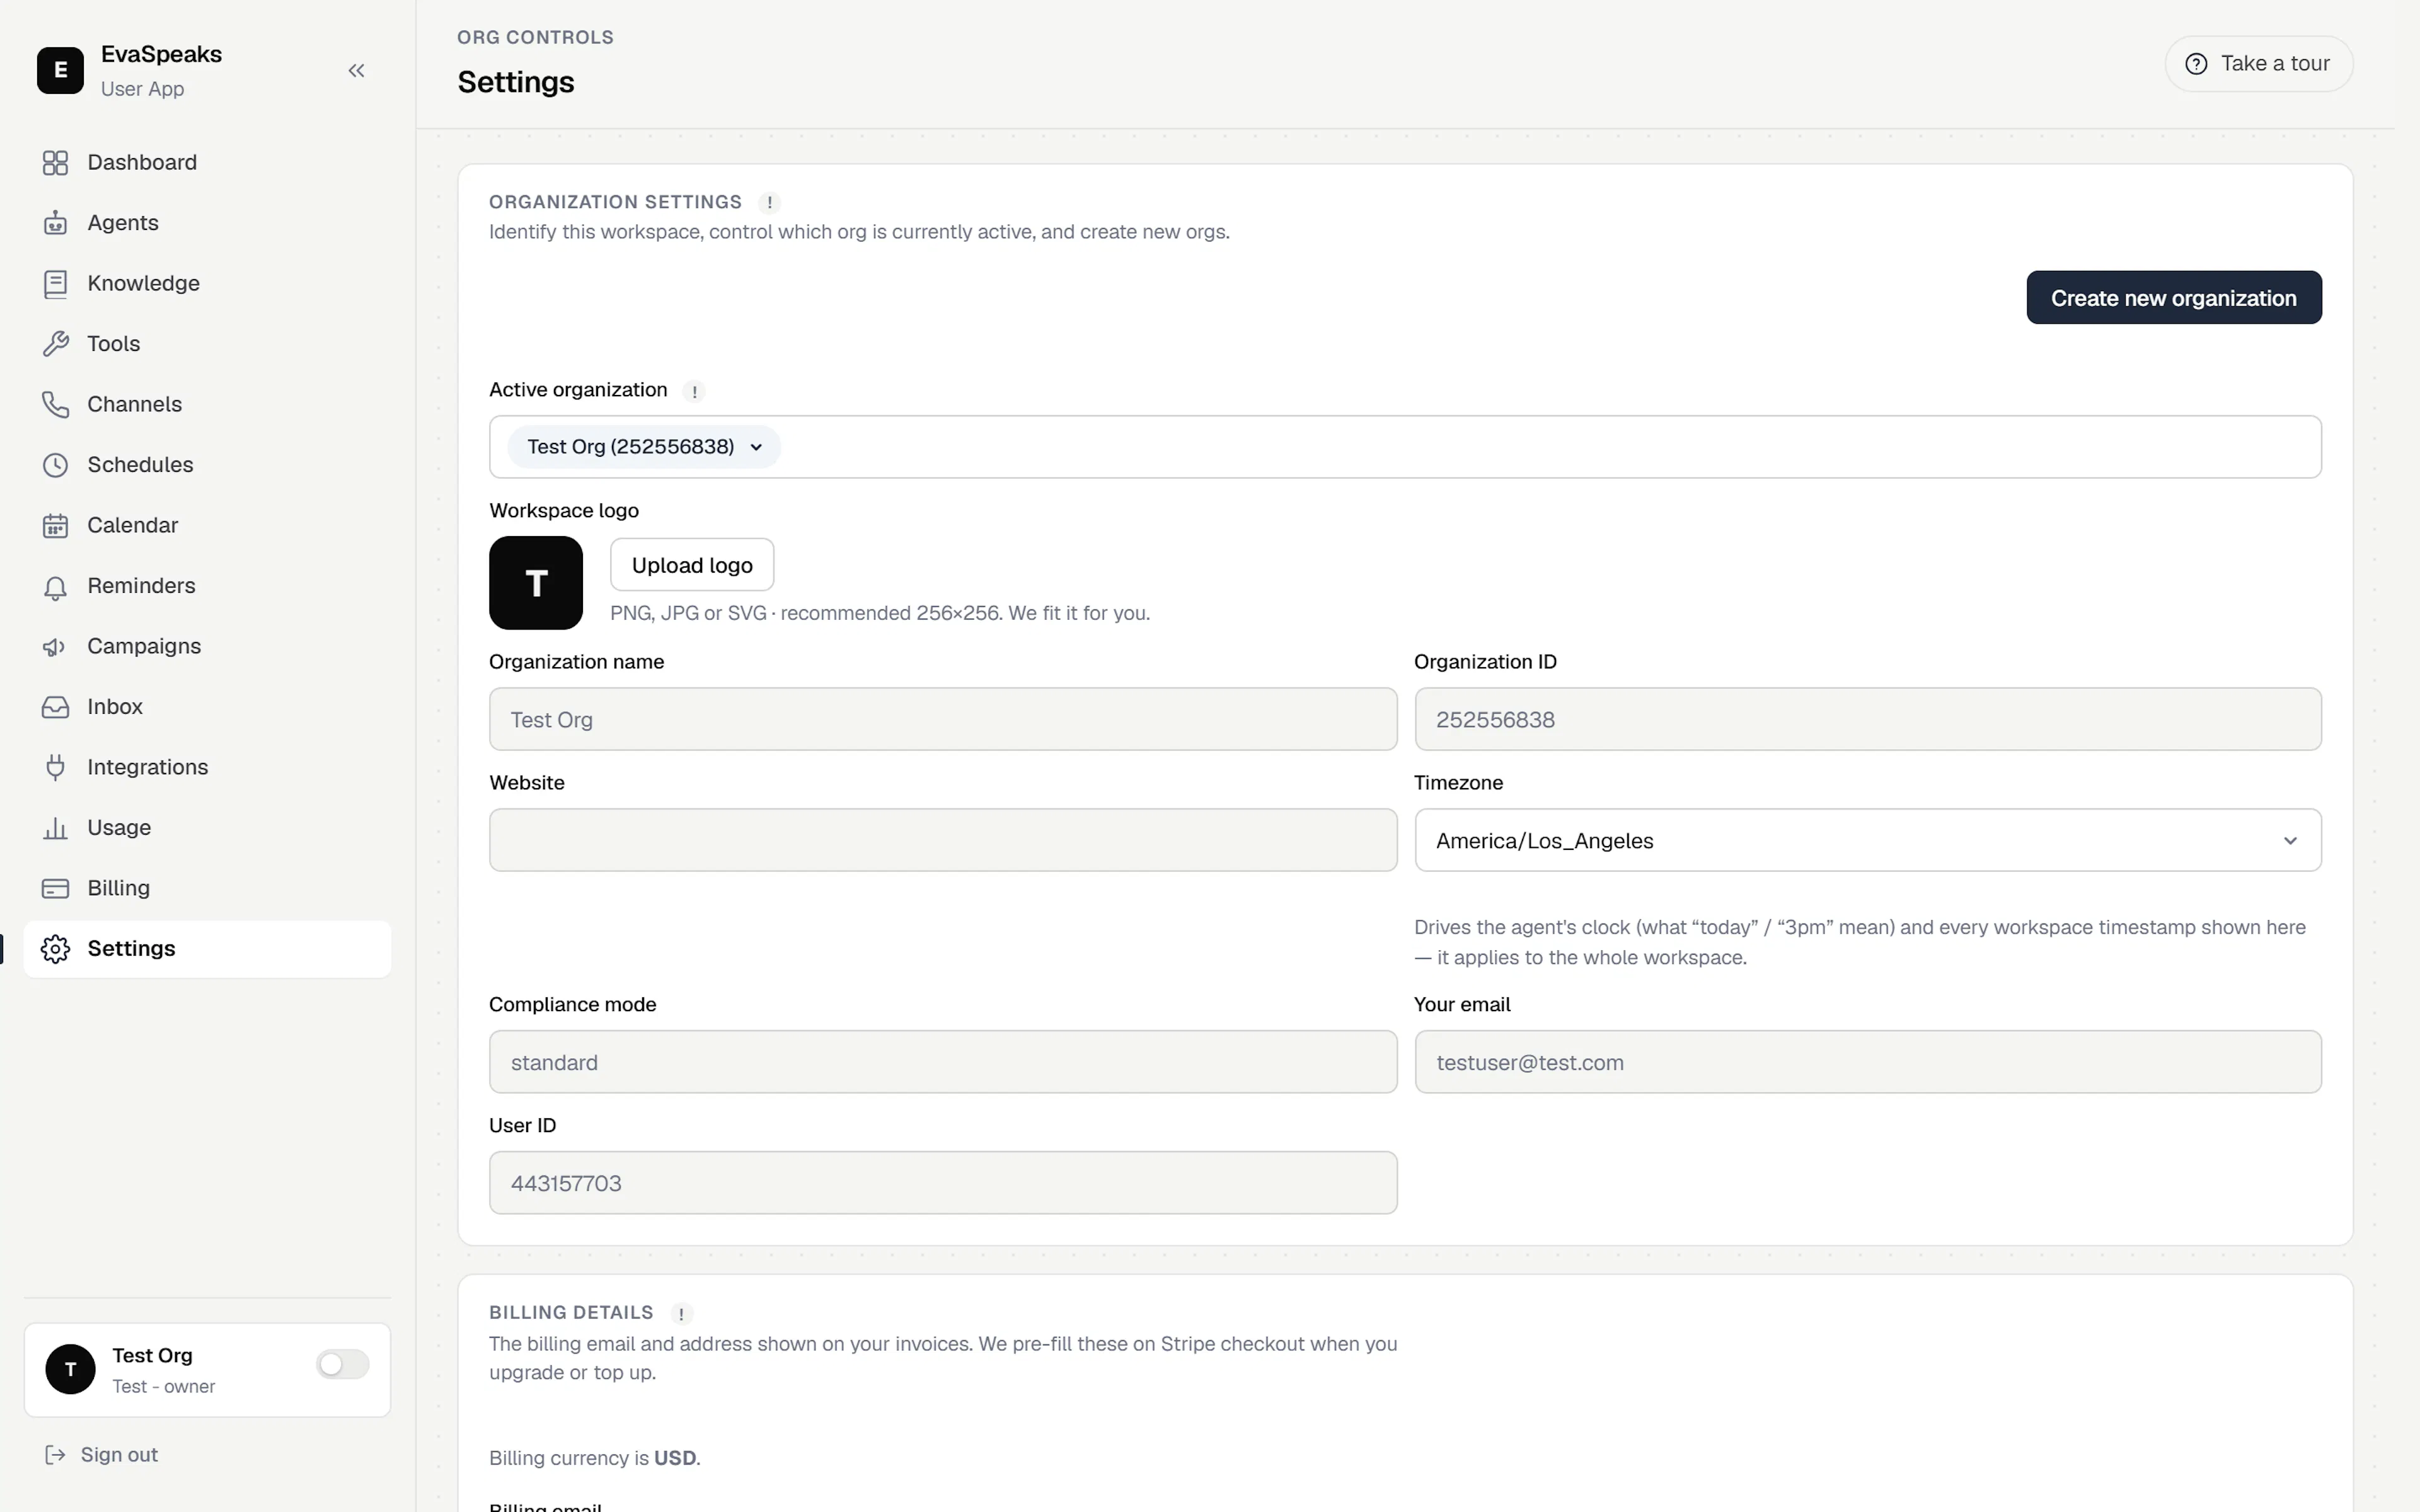

Workspace settings
Manage your organization, team, notifications, contacts, and security.
Workspace settings
Open Settings to manage your workspace. The top of the page identifies the organization and lets you switch the active organization — that choice sets the lens for every other tab, so agents, calls, and billing all scope to the workspace you pick. Below that you'll find your billing / contact details (the email and address shown on your invoices), and a row of tabs for everything else.
Notification preferences
Choose how the workspace is alerted — by email, SMS, or Slack — for things like handoffs, outages, and daily summaries.
Sender domains
Verify a domain you own so your agents can send reminder and confirmation emails from your own address (for example noreply@yourcompany.com) instead of a shared platform address.
Team members
Invite teammates to the workspace and give each one a role that controls what they can do:
- Owner — full control of the workspace.
- Admin — manage most settings and configuration.
- Member — day-to-day operational work.
- Viewer — read-only access.
Contact fields
Define custom fields that appear on your contacts. These flow through the whole app — the Add-contact form, the CSV importer, and each contact's Details tab in the Inbox — so a booking workspace and an inventory workspace can each capture what they need.
Privacy & memory
Set your caller-memory policy: whether the workspace remembers callers, the consent posture, the default scope of what's remembered, and how sensitive details are handled.
Security
Manage the allowlist that controls where your look-up skills are allowed to reach. With no entries, a look-up can only point at a public address; add an entry to permit a specific private or on-prem destination (a hostname, IP, or address range). This is a setting you manage as the operator — add only the destinations you intend your agents to use.